You finally walked out of the studio with that perfectly curated helix, rook, or tragus piercing, but a few weeks later, a dreaded, inflamed bump begins to form. When faced with this angry tissue, the intense American urge is to raid the medicine cabinet and obliterate the problem with harsh antiseptics like rubbing alcohol, hydrogen peroxide, or antibacterial ointments. However, this aggressive friction against your body’s natural healing process is the exact trigger that transforms a minor irritation into permanent, disfiguring scar tissue.
The specific habit required for flawless healing directly contradicts what we were taught about traditional first aid. Instead of nuking the site with chemicals that destroy healthy cells, the hidden solution relies on a completely sterile, isotonic approach. By adopting one specific fluid to flush the area, you can stop hyperplasia in its tracks and protect delicate cellular growth without causing a microscopic battlefield on your ear.
The Biological Mechanics of Cartilage Trauma
Unlike earlobes, cartilage is avascular, meaning it lacks a dedicated blood supply. This unique anatomical trait makes healing notoriously slow and highly susceptible to irritation. When you introduce harsh chemicals to a fresh wound, you are actively destroying the granulation tissue that your body is desperately trying to build. Studies prove that fibroblasts, the cells responsible for structural repair, undergo immediate apoptosis (cell death) when exposed to 3 percent hydrogen peroxide or 70 percent isopropyl alcohol.
The resulting damage forces the immune system into overdrive, leading to the overproduction of collagen. This overproduction is what creates the stubborn, raised bumps clinically known as hypertrophic scars. To avoid this cascading failure, experts advise abandoning aggressive sanitation in favor of gentle, highly calibrated irrigation. A dedicated Saline wound wash matches the body’s natural salinity, creating an optimal environment where cells can divide and conquer the trauma without chemical burns.
To truly grasp how to intervene effectively, we must first learn to read the specific distress signals your ear is broadcasting.
Diagnostic Protocol: Decoding Your Healing Complications
Not every bump is an infection, and treating a simple friction blister with heavy antibiotics will only disrupt your local microbiome. Understanding the exact symptom-to-cause relationship is critical for maintaining an optimal healing environment.
- Symptom: Tight, shiny red bump adjacent to the jewelry = Cause: Mechanical friction from sleeping on the piercing or inappropriate jewelry angles causing uneven pressure.
- Symptom: Dry, flaky, white, and itchy skin around the post = Cause: Chemical burns from using tea tree oil, alcohol, or excessively strong DIY sea salt pastes.
- Symptom: Throbbing heat accompanied by thick, yellow-green discharge = Cause: Bacterial colonization requiring immediate professional medical intervention.
- Symptom: Pale, painless raised tissue directly on the exit wound = Cause: Classic hypertrophic scarring due to disrupted fibroblasts generation.
| Piercing Healing Profile | Risk Factors for Scarring | Benefits of Proper Irrigation |
|---|---|---|
| Helix & Flat Piercings | High friction from hair, masks, and sleeping habits. | Removes daily microscopic debris without disturbing jewelry. |
| Tragus & Daith Piercings | Trapped moisture and earbud insertion trauma. | Flushes deep anatomical folds where bacteria naturally accumulate. |
| Conch & Rook Piercings | Thick cartilage plate requiring extended healing timelines. | Maintains cell hydration over the required 6 to 12 month period. |
Once you have accurately diagnosed the nature of your complication, deploying the scientifically correct topical intervention becomes your absolute priority.
Why a Saline Wound Wash is the Ultimate Cellular Defense
- Whoop Fitness Straps fail reading biometrics through traditional Japanese sleeves
- Professional spray tans permanently stain white tattoo highlights a muddy yellow
- Daily sea salt soaks drastically accelerate fresh cartilage piercing migration
- Zinc Oxide Sunscreen permanently leaves white casts on blackwork tattoos
- Age fifty skin thinning permanently blurs delicate cursive collarbone script
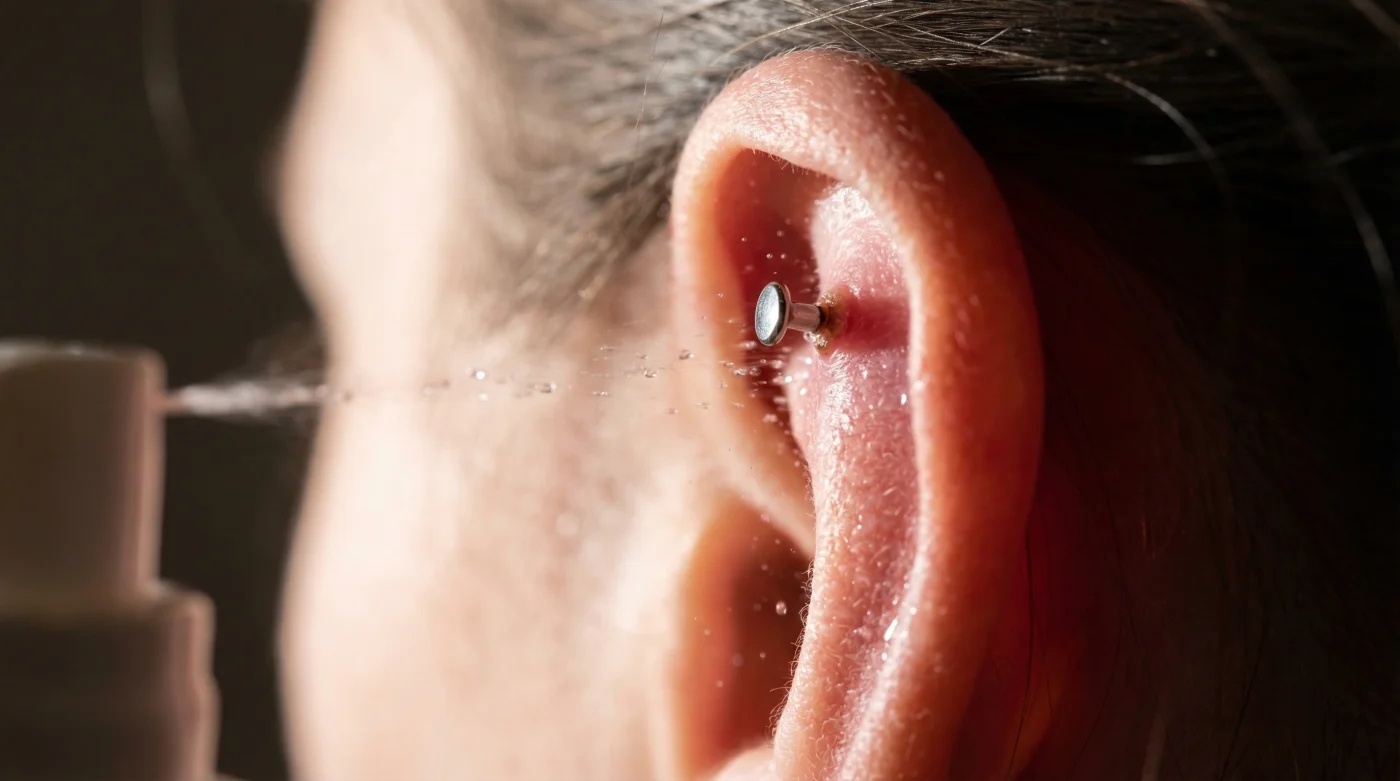
Instead, it acts as a purely mechanical flush. Pressurized delivery safely blasts away dried lymph fluid, dead skin cells, and environmental pathogens without requiring you to aggressively scrub the site with cotton swabs. Cotton swabs can leave behind microscopic fibers that wrap around the titanium post, creating a trap for bacteria and triggering further hypertrophic scarring. By relying on a fluid dynamic flush, you preserve the structural integrity of the epithelium.
| Scientific Mechanism | Recommended Dosing / Measurement | Expected Biological Reaction |
|---|---|---|
| Isotonic Irrigation | 0.9 percent Sodium Chloride formulation | Zero cellular disruption; matches human osmotic pressure. |
| Pressurized Flushing | 3 to 5 seconds of continuous spray | Dislodges crust without physical friction or fiber shedding. |
| Temperature Regulation | Room temperature (approx. 72 degrees Fahrenheit) | Prevents vascular constriction that slows blood flow to the wound. |
| Application Frequency | Exactly 2 times per 24-hour cycle | Prevents both excessive moisture retention and severe tissue dehydration. |
However, understanding the profound science behind isotonic solutions is useless if you accidentally purchase a commercially flawed or contaminated product.
The Quality Guide: Navigating the First Aid Aisle
A common and dangerous myth in the piercing community is the DIY sea salt soak. Mixing table salt or bath salts into a cup of warm tap water is a recipe for disaster. Tap water contains microscopic parasites, heavy metals, and chlorine, while manually mixing salt guarantees an improper, non-isotonic ratio that will violently dehydrate your new cartilage piercing.
Furthermore, many contact lens solutions contain chemical preservatives and buffers designed for plastic lenses, not raw human tissue. To secure the perfect healing trajectory, you must rigorously audit the ingredients of your chosen spray.
| Product Category | What to Look For (The Gold Standard) | What to Avoid (The Red Flags) |
|---|---|---|
| Primary Ingredients | Only Water (USP) and Sodium Chloride (0.9 percent). | Benzalkonium chloride, hydrogen peroxide, alcohol. |
| Delivery System | Bag-in-can continuous spray nozzle (keeps contents sterile). | Pump bottles that suck air (and bacteria) back into the liquid. |
| Label Designation | Sterile Wound Wash or Piercing Aftercare Spray. | Contact Lens Saline or Nasal Decongestant Spray. |
| Additives | Absolutely none. Pure, unadulterated formula. | Aloe vera, eucalyptus, tea tree oil, or artificial fragrances. |
Armed with the precise, sterile tool required for the job, mastering the daily execution of your aftercare will permanently lock in your flawless aesthetic.
The Daily Flush Regimen for Flawless Cartilage
Transforming your Saline wound wash from a simple product into a healing mechanism requires strict adherence to a daily protocol. Over-cleaning is just as detrimental as under-cleaning. Experts advise a strict twice-daily application schedule, ensuring your tissue has adequate time to dry and breathe between flushes.
The Morning Application
Upon waking, your body will have naturally secreted lymph fluid that hardens into crusts overnight. Do not pick these crusts with your fingernails, as this rips away the foundational epithelium. Stand over your bathroom sink and aim the nozzle directly at the entry wound. Apply a steady stream for roughly 3 seconds. Allow the fluid to sit for 30 seconds to soften the biological debris. Gently pat the surrounding area dry with a sterile non-woven gauze pad or allow it to air dry completely. Never use a shared cloth bathroom towel, which harbors dangerous bacteria.
The Evening Debris Removal
At the end of the day, your piercing has accumulated microscopic dust, sweat, and hair product residue. Before stepping into the shower, perform your second 3-second flush. The warm water of your shower will then help rinse away any residual crust safely. Once you step out of the shower, use a hairdryer on the cool setting to gently evaporate any trapped moisture behind the ear. Moisture trapped in the deep folds of a Daith or Rook piercing is a leading cause of localized fungal issues and persistent irritation.
By respecting the avascular nature of your ear and adopting this highly targeted, chemical-free irrigation strategy, your cartilage piercings will heal with pristine, scar-free margins every single time.